Animating the Light Streaks: Creating the Frames
To create the animation, we need to create the individual frames as layers.
Step 10
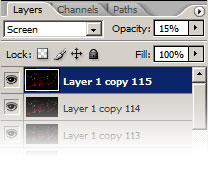
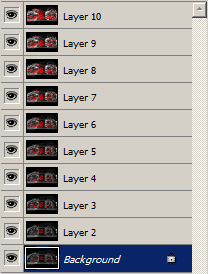
First, we need to determine the amount of frames we want in the animation. More frames will create a smoother and longer animation but will also take longer to complete and create a larger file size. For this tutorial, I will be creating an animation with around 10 frames. Because my animation will only have 10 frames, I can merge the 115 layers into 10 layers.
Step 11
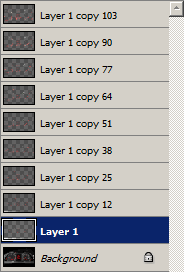
With some simple math, we'll find out how many layers we need to convert to one. To do this, take the number of layers the light streaks was created with and divide it by the number of frames. For myself, this will be around 12 layers (115 layers ÷ 10 frames). Now select the top layer and press Ctrl+E to merge down with the answer to the mathematical equation as the number of times. For myself, I will press Ctrl+E twelve times to convert twelve layers into one. Select the layer below and do the same thing until all the layers have been merged
Step 12
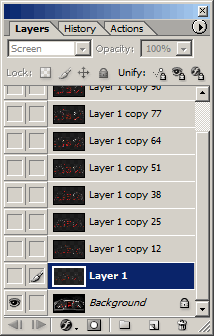
Hide all the layers except for the bottom two layers.
Step 13
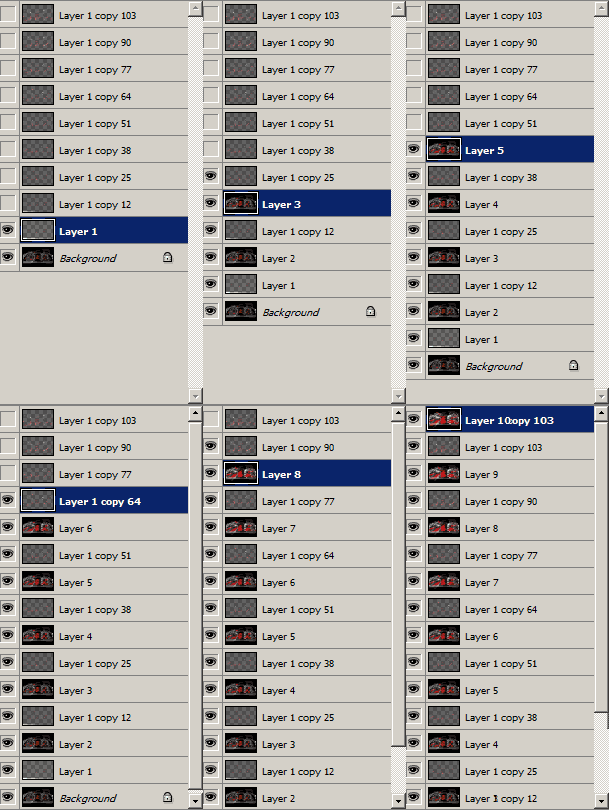
Select the second layer and press Shift+Ctrl+Alt+E to create a new layer from the visible image. Select/activate the layer above, click on the eye to make it visible, and press Shift+Ctrl+Alt+E. Repeat this for the rest of the layers above.
Step 14
Delete all the old layers except for Background.



0 comments:
Posting Komentar