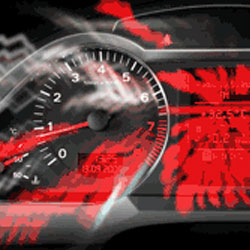
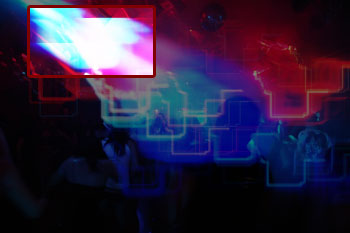
 Create animated light streaks using special Photoshop techniques.
Finding the Light Sources
In this section, we'll use the Levels tool to identify the light sources that will be used to create the light streaks.
Step 1
Open an image to edit. Use the Image Size tool to resize the image to the final output size you would like. This Photoshop effect will use a lot of your computers resource so we recommend starting off with a small image, around 300 pixels wide or tall.
Step 2
Duplicate the layer (Layer> Duplicate Layer or Ctrl+J).
Step 3
With the top layer selected, open the Levels tool (Image> Adjustments> Levels or Ctrl+L) and move the middle input slider all the way to the very right. Click OK when done.
Step 4
The light streaks will be created from the light areas in this layer. Use the Brush tool (B) and paint over the areas that you do not want any streaks to be generated from. If there are any light sources that's clipped off by the edge of the image, erase those light sources. If they're not removed, the final result will show light streaks with clipped edges.
Step 5
Change the blending mode to Screen.


0 comments:
Posting Komentar